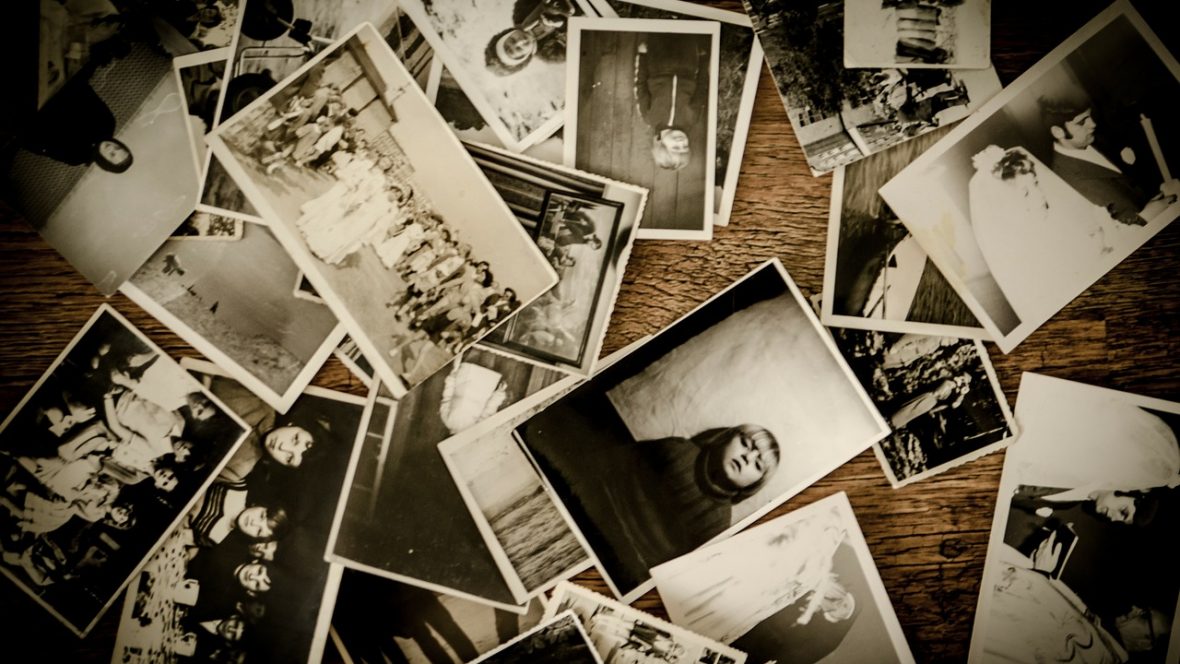
Photos and documents cluttering your genealogy work space? It’s best to scan them all to your computer and upload them to a cloud storage database. But what to do with the physical copies? There’s no sense in getting rid of old photos. But stuffing them in a box in the basement can also damage them. Or worse, they can get lost permanently! We’ll show you how you can preserve–and even repair–your old photos to keep your memories around for future generations.
 Storing Photos
To save space, scan your photos to your computer and upload them, if you can, to a cloud storage database. But what to do with the physical copies?
Store them at a low temperature and a low relative humidity. Cooler temperatures (below 75 degrees Fahrenheit) will slow decay and keep insects out of the area. The same goes for a relative humidity below 65%, which will also prevent mold growth. However, be careful not to let the relative humidity drop too low. An rH below 15% can make your photos brittle.
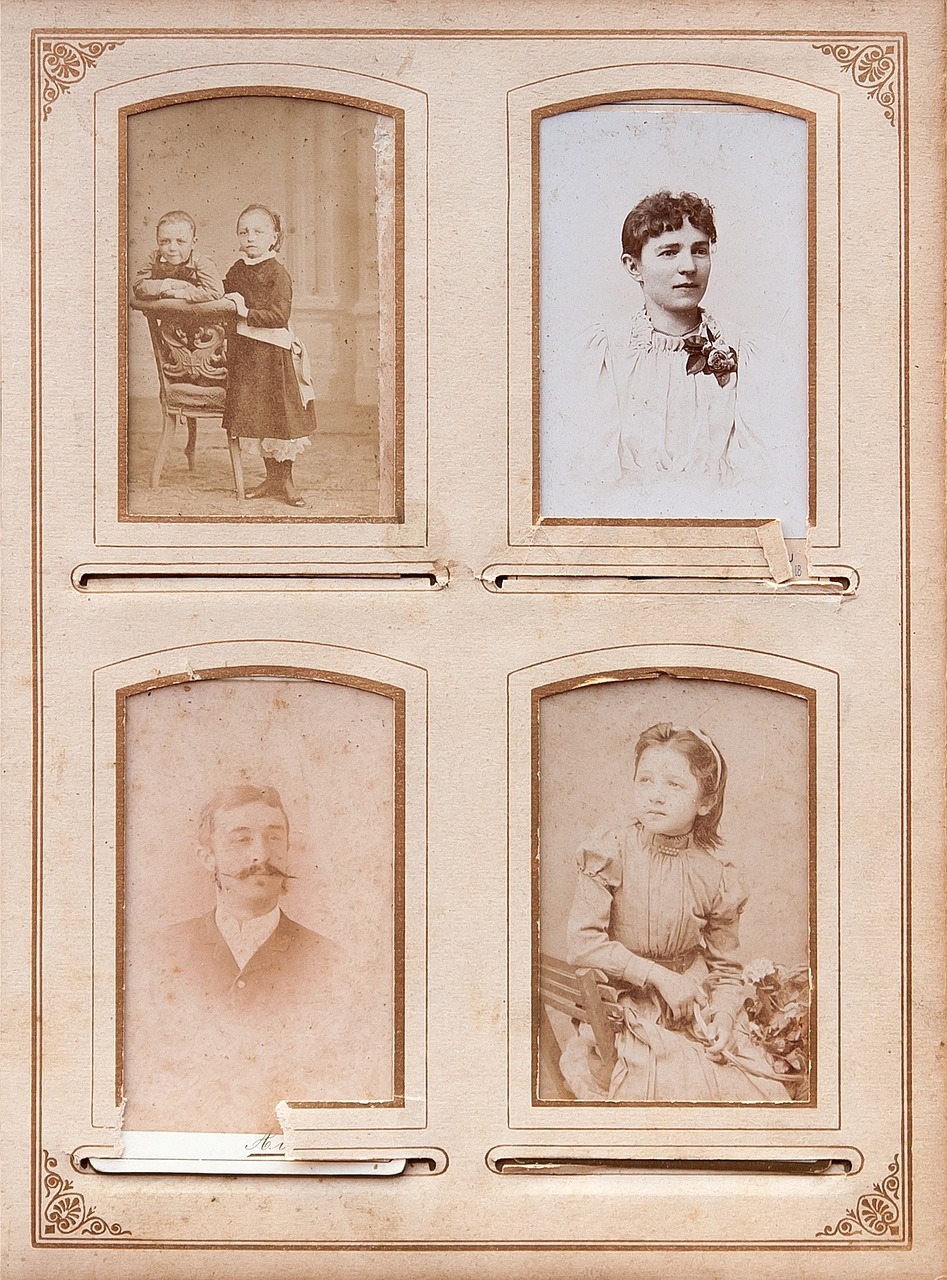
Keep your photos in a protective sleeve as well to protect from dust and scratches. Page protectors are also useful for storing CDs and DVDs, cards, letters, and other flat items.
If you’ll be able to display them in a clean, organized manner and they’re something the whole family treasures, frame your best photos. These can make good keepsakes and heirlooms. Plus, you’ll likely never lose them!
Organizing
Remember, as you’re storing, to keep the photos organized by date, family name, etc. so that you can easily find them again when you need them. Keep it consistent between all your photos. That way, different albums of old photos are just as searchable as new storage.
Many people write names and dates on the backs of photos, or in the margins of Polaroids. This is the best way to keep that precious information with the photo. Use a soft lead pencil to date your photos. Hard lead pencils can scratch the image on the other side of the photo. The same goes for ballpoint pens. In cases where a pencil won’t work, such as with a slick coating on today’s photo paper, use an odorless, waterproof, soft-tip marker. Just let the ink dry before stacking or storing, because this will be permanent and could damage other photos if stacked prematurely.
If you don’t want to write names and dates on photos, create labels in an album to indicate the people, date, and location in a photo. Just be careful not to lose the photos!
 Damaged Photos
Sometimes, scanning comes too late for your photos. Your photo may have faced rough handling, or the dates were written with a ballpoint pen that left scratches. Rather than giving them up for lost or living with scratches and dust, try repairing damaged pictures. Using Photoshop, GIMP, or Paint.NET, you can clean up the damage done so that you can display or store these precious memories. The best tool to use for removing damage is the Clone Stamp, found in all 3 programs.
For more serious damage, you may have to call a professional. A conservator can help with big-time damage, like documents stuck together or otherwise too fragile to be viewed. You should also always call a conservator when you have serious insect damage, or dangerous mold. They’ll have the tools to make your photos safe again. Trying to tackle mold on photos and keepsakes yourself can be dangerous to your health!
Don’t wait until your photos are in poor shape to start storing or repairing them, though. Make time to preserve your family’s irreplaceable memories today! If you have a lot of scanned photos you’d like to display, a MyCanvas Family History book is a great way to show off your family through the years.