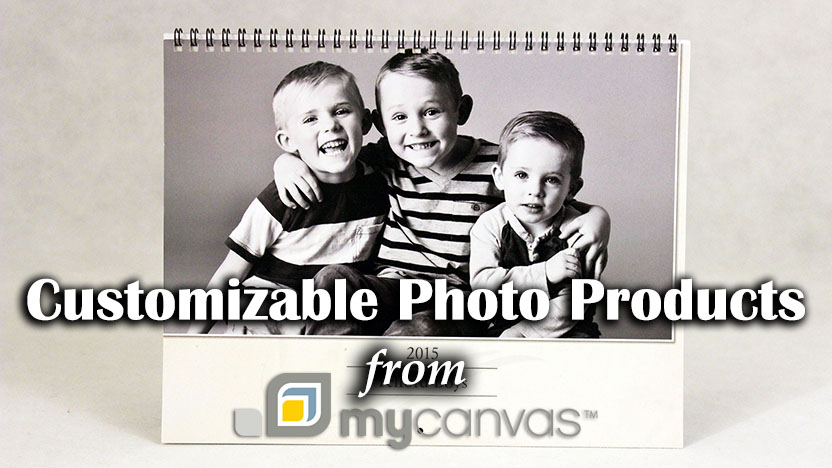
MyCanvas photo books are wonderfully customizable. With all that creative freedom at your fingertips it can be a bit overwhelming when designing your photo book. Here’s a guide to assist you with the basics of creating your photo book.
First things first…
The Cover
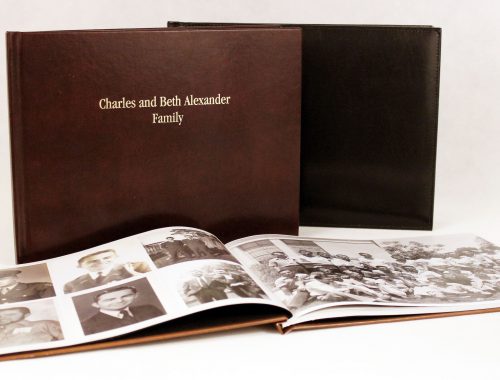
Technically the first thing is deciding on the size of your book, but choosing your cover type is a part of that decision making process. There are a variety of covers to choose from; Nuba Leather, Bonded Leather, Padded Leather, or for a touch more personalization, a custom cover.
Here is a quick guide to what makes each cover style unique:
- Nuba Leather comes in a beautiful charcoal color with a matte finish. It’s soft and supple, and if desired a title can be stamped on in gold foil. Very classy!
- Bonded Leather is all about durability. It has a classic look to it and can come in either black or burgundy. Bonded leather also gives you the option to have a custom title stamped in gold foil.
- Padded Leather is all about creating that luxuriously elegant look. While you wont be able to have a title on the front cover, you do have the choice of having a black or sienna cover with contrast stitching to give it an extra pop.
- Last, but not least, there is the Custom Cover. This one gives you the ability to let your creativity run free. There are a variety of cover layouts to choose from, or you can edit it to make it a true original.
Custom Italian Flag Cover Family History Book
Posted by MyCanvas on Thursday, December 27, 2018
What happens if you have started your project and decide you want a different cover option than the one you chose?
Don’t worry! There is no need to throw all your hard work away and start over. Within the edit mode on the toolbar to your left find the Covers tab. It allows you to adjust the layout of your cover or change the type of cover entirely.
It’s important to note that some cover types are only available with select book sizes, and different cover types allow for different page amounts.
Upload Pictures
 Now that you have decided on the size and cover type it’s time to insert images. No photo book would be complete without pictures! While in edit mode find the My Photos tab on the left side of the screen. That’s where you are going to be able to upload and organize all your pictures from your computer into albums on MyCanvas. After you’re done importing your photographs you’re ready to fill your photo book. It’s as simple as that!
Make it Your Own
Creating a truly unique book doesn’t end with uploading your pictures. There are all sorts of additional design options available. While in the edit mode you can add frames to images, include embellishments to add to your page design, change the appearance of the background, and add text to your pages. The possibilities are as big as your imagination.
Ready to Print
Once you’ve finished creating your book double check that you are logged in and order your book. Or take advantage of the option to print it yourself at home. That’s it! Your personalized book will be saved in your projects for you to come back to whenever you want.
Related: Building a Custom Photo Book From Scratch