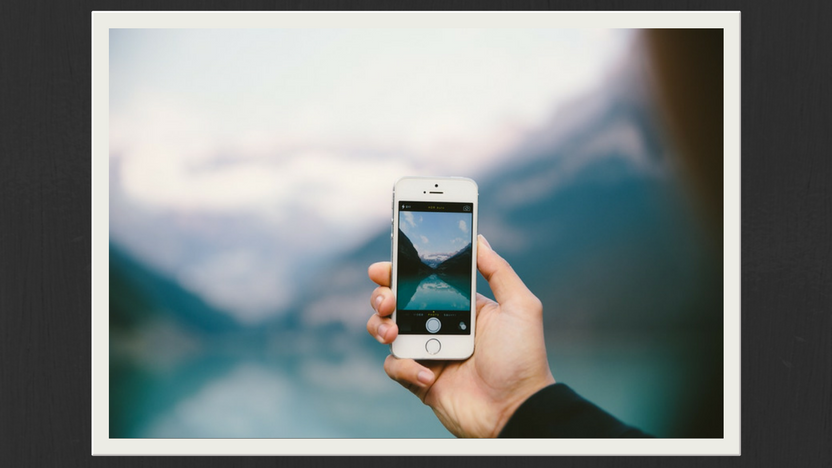
The iPhone camera has been considered the most advanced smart phone camera available on the market and it has maintained that reputation with the new camera found on the new iPhone 7 and 7 Plus. There are many hidden or less-known features that are built in to the camera software that can be utilized to change your photos from being okay to spectacular! In the spirit of the new iPhone 7 recently coming out, here are our top 7 iPhone photography tricks and tips:
1. Burst Mode
When you go to take a picture, hold your finger down on the shutter button and it will take 10 or more pictures in about 1 second depending on how long you keep your finger pressed. After you have taken the pictures, you can go through the burst and choose the best one or two that you want to keep and delete the others. This is a great feature for taking pictures of moving objects and really improving your iPhone photography.
2. Have Depth in Your Photos
Showing depth is a great way to make your photos more engaging and more three-dimensional. Another way to simply explain depth is to include layers in your picture that will contrast with each other. You can accomplish this by always including a foreground subject, middle ground subject, and a background subject.

This photo is a prime example of using depth to your advantage. The house is in the foreground, the lake is in the middle ground, and the mountains are the background. These layers provide depth and make the experience of the photo more enjoyable.
3. Set and Lock the Focus and Exposure
Exposure on the camera app is amazing and can take your iPhone photography to the next level. There is so much you can do with it to create professional-looking photos. Setting the focus is simple, you just tap the subject on your screen and the camera will focus on it. This is a really cool feature for when you want to make the subject stand out more from its surroundings. After setting the focus, your phone will automatically set the exposure. If you want to manually adjust the exposure, you can just swipe up or down on the screen.
Locking the focus and exposure is just as simple as setting it, the only difference is that after you tap the subject you want to focus on, you hold your finger on the screen for 2 or 3 seconds. That will lock your focus and exposure to whatever you set it to. This is useful for when you want to take a picture of someone or something moving through the scene you set your exposure to. This knowledge will give you the ability to change your iPhone photography style for the better.
4. Take Pictures from Different Perspectives
It is so convenient to take a picture from your chest or face, but if you want to up your game in photography, you need to experiment with perspectives, whether they be low, high, or at the level of the subject. These new perspectives will make those Instagram photos stand out to your friends from the rest of the crowd!
5. Try Various Attachable Lenses
Attachable lenses for your phone will give the creative accessibility you get with professional camera lenses on your phone. In fact, you are able to do that without compromising on picture quality. There are a lot of options out there for attachable lenses. Here are a couple of choices that might work for you: Moment and Olixar. Upgrading with after-market camera lenses will really up your iPhone photography game.
6. Use Shadows
Shadows are often underutilized in photography and can really add more to the picture than the subject itself can. Shadows really add a lot of contrast and interesting aspects to your picture. Take this photo for example:

You can clearly see the subject of this photo is the snowy bench, but notice how the shadows grab your attention and take it to the other parts of the picture. If you are not already implementing shadows in your photography, give it a shot (pun intended)!
7. Take Photos with Volume Buttons
This is a very neat trick that you might not have known before. When you are trying to take that perfect family selfie or want to use both hands to steady your iPhone for a picture, don’t tap the screen! If you reach to the side of your phone with the volume controls, you can hit either one of the buttons to take a picture.
For those of you who already knew that little trick, did you know that you can also use the volume control buttons on the chord of your earbuds or headphones to do the same thing? That is useful to know for those situations where you need a shutter remote, i.e. your phone is on a tripod and you want zero movement in your photo.
A lot can be done with that little phone in your pocket, so take advantage of it. Let us know in the comments which of these iPhone tips and tricks you have enjoyed the most!


