Valentine’s day is here and I wanted to do something special for my wife. Picking the right kind of gift always seems to be a challenge for me. Fortunately, MyCanvas was the perfect solution because it offered me an easy to use platform to make a customized calendar for my sweetheart. In this post, I review the steps to make a calendar using MyCanvas for the perfect Valentine’s day gift.
Step 1:
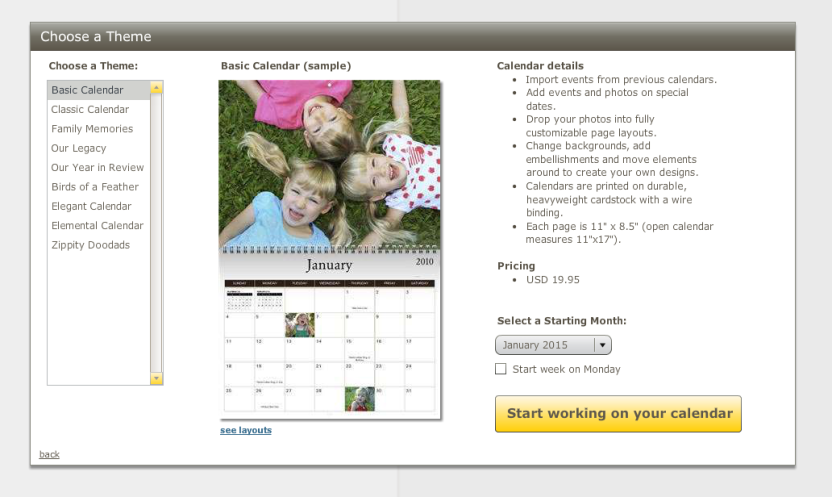
To start, choose a theme for my calendar. In this case I used a Basic Calendar theme. From there, I clicked “Start working on your calendar,” and it opened a new window where I could begin making customizations.
I began by entering the dates of birthdays and other special occasions (holidays come pre-programmed based on a country of choice). Then I was ready to upload photos.
Step 2:
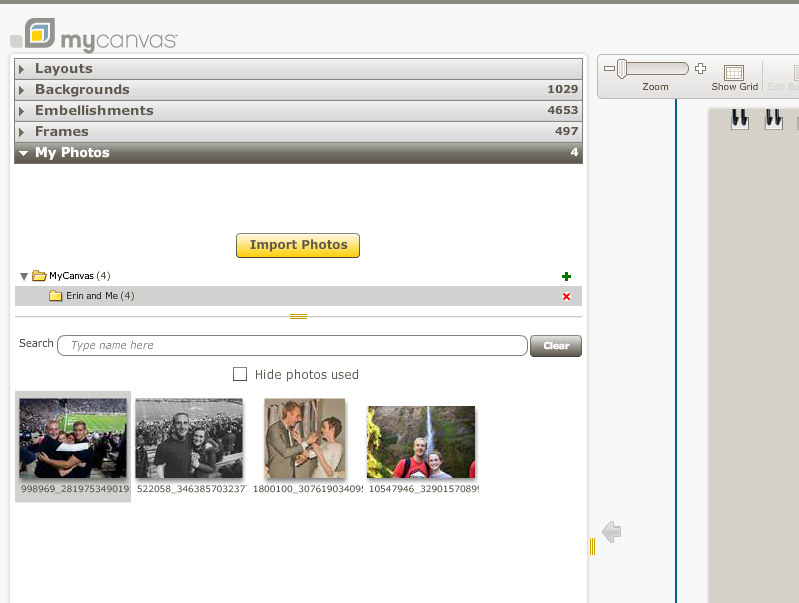
On the left is where I uploaded photos. It was easy to upload photos straight from my computer and then drag and drop them on my customized calendar.
Step 3:
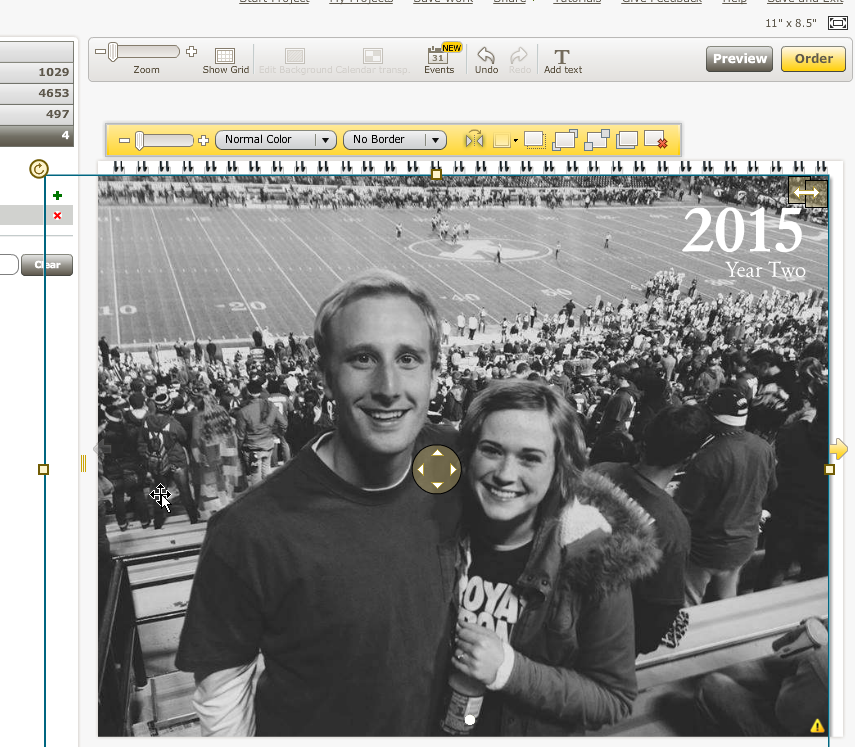
The third step I took was selecting an image for my calendar cover and designing it on the page. It was simple to drag the picture on to the calendar, edit its size, zoom, etc. I could also add text, borders, more images for collaging purposes, and arrange those photos as I wanted.
Step 4:
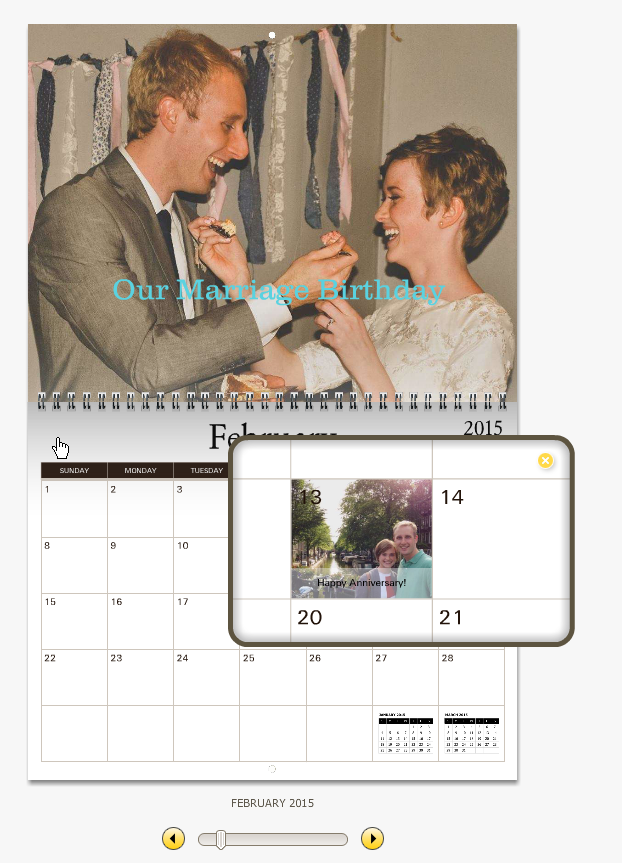
Next, I added photos to the rest of the calendar by seamlessly scrolling through the months and dragging the images I wanted to use on to the calendar. Then I typed on the images to add special messages to my wife. Better yet, I was able to select from an array of fonts and colors, edit the size, spacing, and design of the words.
Step 5:
After adding all of my images, text, special dates, and editing fonts, borders, design, and more, my customized calendar was looking really good. I took one last look in the “Preview” window to make sure it looked perfect.
Now that my calendar was complete, I simply saved it and ordered it! With MyCanvas making a customized calendar was easy. It really is the perfect gift for a loved one.
If you have any further questions, don’t hesitate to contact us. Thanks!


