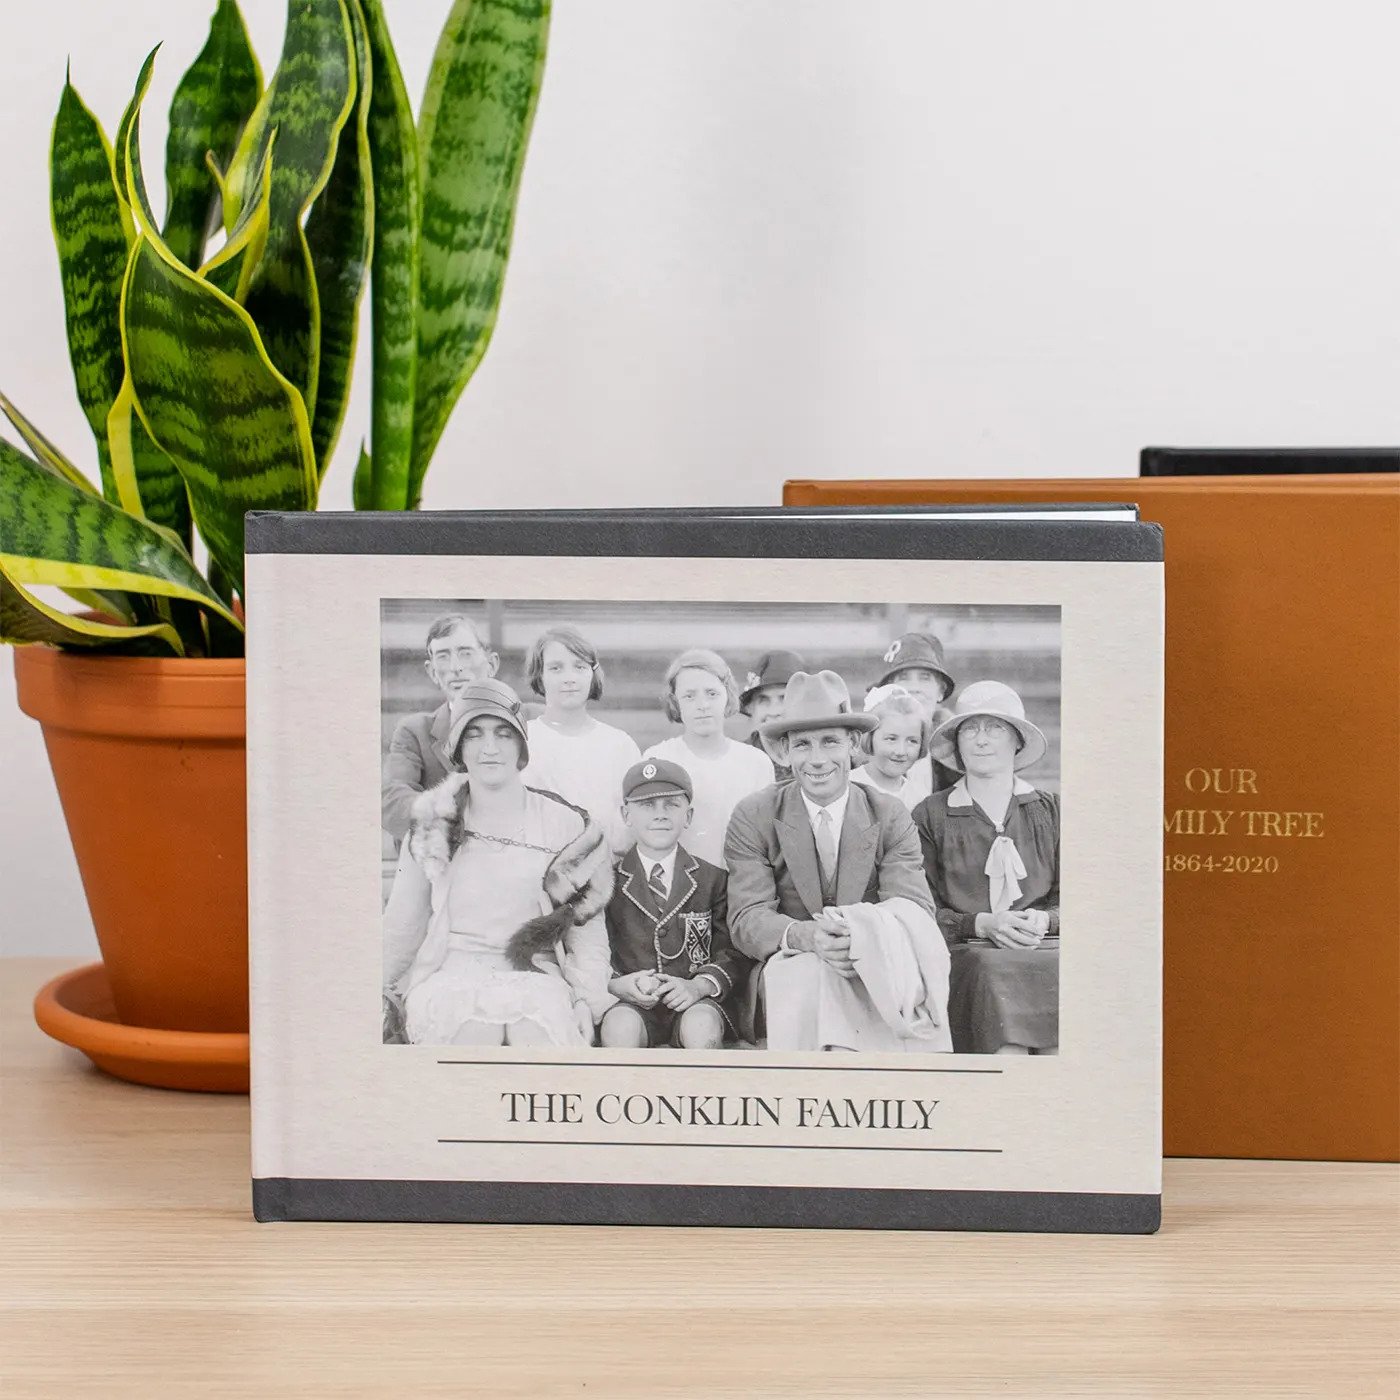
You’ve done the research. Built the tree. Traced the names. Now comes the most meaningful part: figuring out how to turn all that work into something your family will actually want to read, hold, and cherish. Beyond the Tree: Turning Research into Connection You’ve poured years into researching your family history, dug through records, pieced together timelines, and chased down elusive ancestors. Maybe you’ve built an impressive family tree or uncovered powerful stories that span
Father’s Day is more than a date on the calendar; it’s a celebration of the influence and legacy of fathers everywhere. Since its inception in 1910, Father’s Day has been a time to honor the impact fathers have on their families and communities. This year, go beyond the usual and give Dad a gift that tells his story, celebrates his roots, and highlights the moments that matter most. Here’s our Father’s Day gift guide featuring
At MyCanvas, we’ve seen it again and again: some of the most meaningful family history starts not with a deep dive into documents, but with a simple question. Whether you’re just beginning your family history journey or have years of research behind you, taking time to talk to the people around you—your parents, siblings, grandparents, or other relatives—can help you discover the heart of your family story. These conversations can reveal rich details, emotions, and
Mother’s Day is just around the corner. It’s a time to reflect on the women who’ve held our families together, passed down stories, and built the traditions we treasure. Whether you’re honoring a mother, grandmother, or another remarkable maternal figure, this is the perfect opportunity to give a gift that speaks to her legacy. If you or your loved ones cherish family history, MyCanvas offers meaningful ways to preserve and celebrate it. These personalized gifts
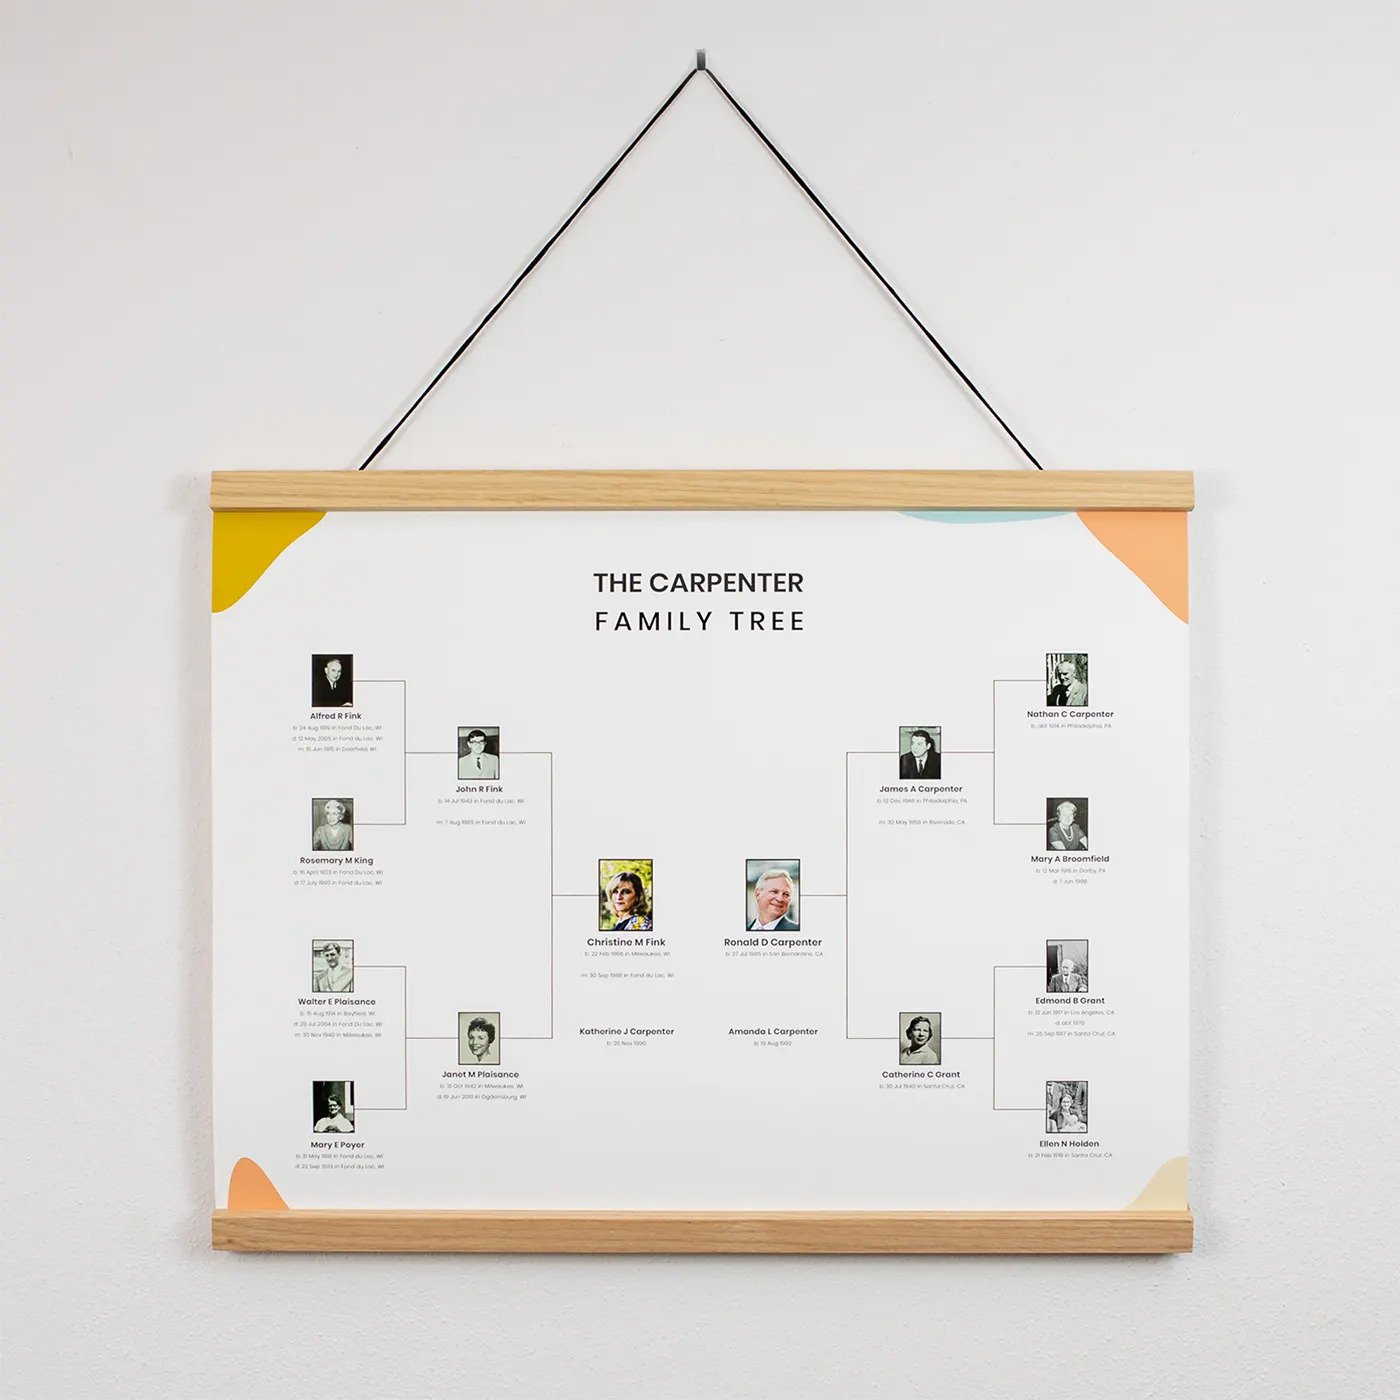
Preserving your family history is a meaningful way to celebrate your heritage, and a beautifully designed family tree poster makes it easy to share your ancestry with loved ones. If you have a GEDCOM file containing your genealogical data, you can quickly turn it into a professionally printed family tree poster using MyCanvas. Follow these simple steps to create a custom family tree poster that showcases your family history in style. Step 1: Visit MyCanvas


