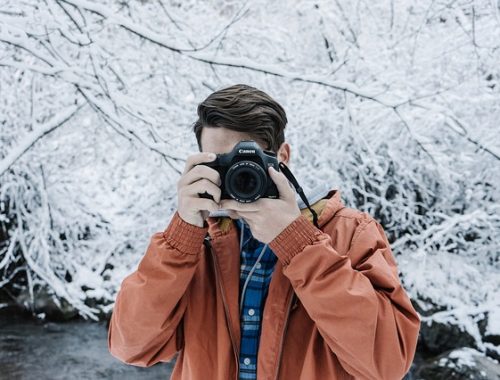
With digital cameras, it’s easy to capture the majesty of a mountain skyline or a spectacular sunset. All you have to do is digitally stitch them together into a panoramic photo. Sounds simple enough, right? Mostly, yes. But even digital panoramic photos can go wrong. Weird exposure differences and strange perspectives can still result from your smart phone. So how do you make your panorama turn out wonderfully using a smart phone?
Use your camera’s panorama mode
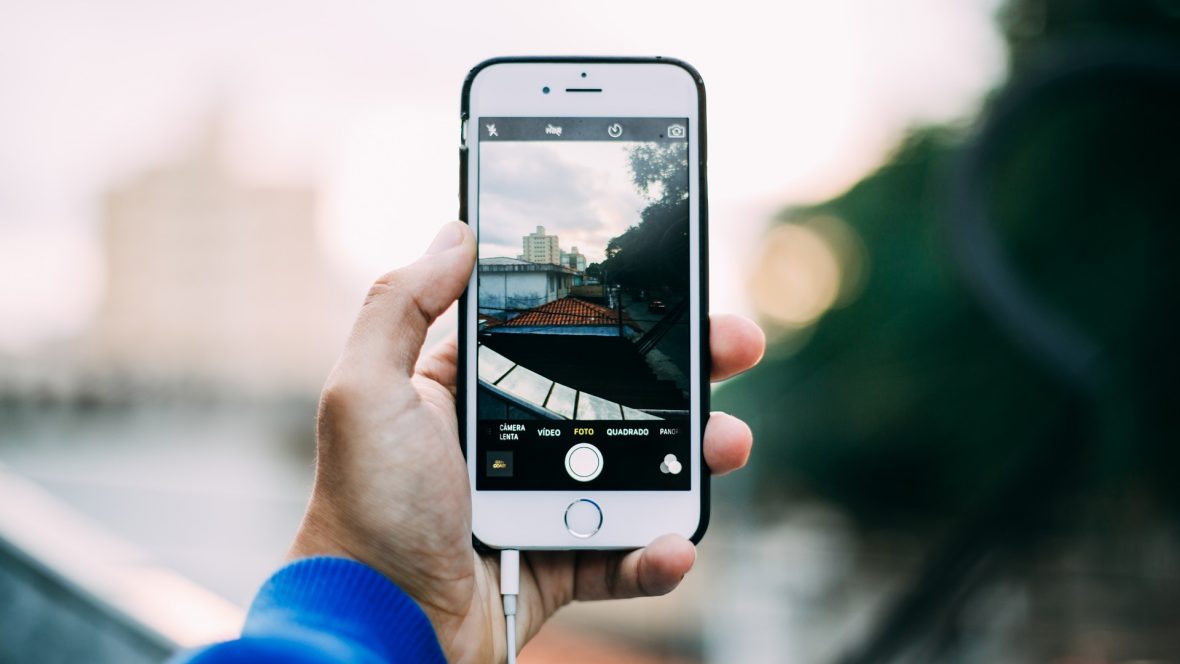
If you have a smart phone, chances are you have a Panorama Mode already built into your phone’s camera. These tools make it easy to keep your photos right on your camera, and to use your panoramic options wherever you are. This is useful when you’re in an area without a signal, or if you’re abroad and without mobile internet. Native apps on your phone also often have guides to line up your next shot. However, there are apps you can use if your smart phone does not come with a panorama mode. Try Cycloramic for iOS and Windows, and Photaf Panorama for Android.
Find a focal point before shooting
Picture how your panorama will turn out before just pointing your phone at an interesting horizon. What do you want the focus to be? That will help you decide what pictures of your landscape to take to create the perfect image.
Keep your camera level
Unsteady camera shots can result in a choppy stitch later, or in shaky horizon lines. This is especially true if your app lets you do a continuous shot. Try to hold your smart phone level, or use a tripod or a wall. Plus, some apps like Cycloramic (above) are completely hands-free and can be put on a flat, stable surface to turn your phone on their own.
If you don’t have a tripod, one trick is to hold your smart phone vertically. It may be tempting to turn it on its side to view your panorama in landscape mode. And this is good practice if you’re creating a video. But you’ll be steadier if you keep your phone upright. Another trick: turn on your optical stabilization. This prevents camera shake and its bad effects on your photo.
Pivot around a single small point
In other words, turn your camera but not your body. The smaller your pivot area (i.e. the less you turn your camera), the better your shot will be. Use this for landscapes and large shots without an object in the foreground.
Move if there is an object in the foreground
In contrast, you should take multiple but even shots with some side-to-side movement if there is a large object in the foreground of your panorama. This is not an easy task. But standing on one place while you turn your camera could result in a curving distortion when you stitch your panorama together. Practice moving carefully side to side with the camera level before you begin taking photos. also, remember to snap the photo as you breathe out. You can also use walls and tripods to help keep your phone stable.
Watch for moving cars or people
Before you press Shoot, be sure to wait out things like cars and people. Nothing’s more obvious in a panorama than when tourists change position during your shots, or someone dives off a rock into the sea.
Make sure the lighting is consistent
This will be difficult to edit out later, though it is possible. Better to get it right the first time! Your lighting may change in each shot, even if you’re outside. Regular photos can handle this as long as the photographer knows how to utilize the light source with their subject. In panoramas, though, it can be hard to manage. Check each photo for consistent lighting, especially if you are indoors or if it’s a cloudy day. You may need to turn off automatic settings on your smart phone, or take a few test shots.
Make multiple passes
Don’t be afraid to go over the same area more than once! This helps you get overlap, and can help you have other options should your exposure turn out not quite right. Also, be sure to get passes that include a little more of the area above and below your intended shot. That way, you can be sure to capture an even amount of the sky and ground for when you stitch your photos together. You can crop this out later.
Take vertical panoramas
Many times, we just think to capture horizontal landscapes. But when taking panoramas, don’t forget the vertical view! This can be great for a sky or sunset over mountains that you want to capture. It’s also good for visualizing the height of towers, waterfalls, and other tall, stunning views.