At MyCanvas.com, you can sign in with your Ancestry account to create family-oriented custom calendars. Learn how to add birthdays, anniversaries, and names of not only your descendants, but your ancestors! Include as far back as six generations. Begin your Ancestry Calendar by following these instructions:
Getting Started
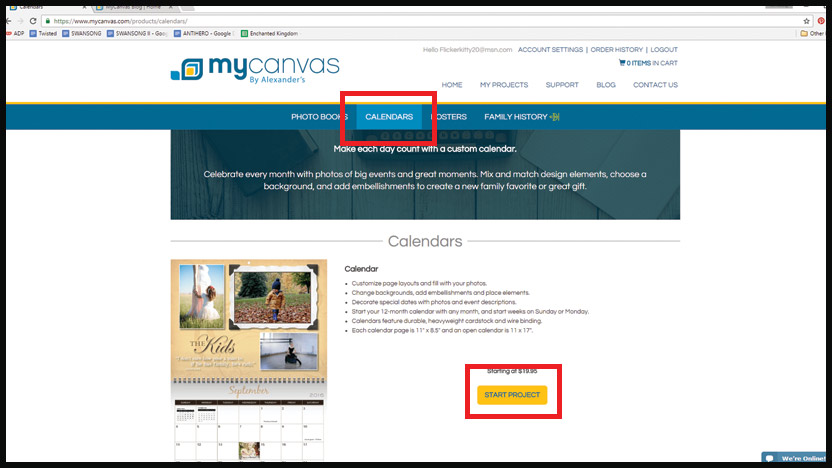
Visit MyCanvas.com, and click on the Calendars icon. Then, Start Project.
This brings you to a selection of our calendar layouts. All layouts are completely customizable, meaning you can add in your own pictures, text, elements, and more! Delete elements you don’t like, or add your own photos as background images and date icons. Move and adjust placement to make your perfect project.\
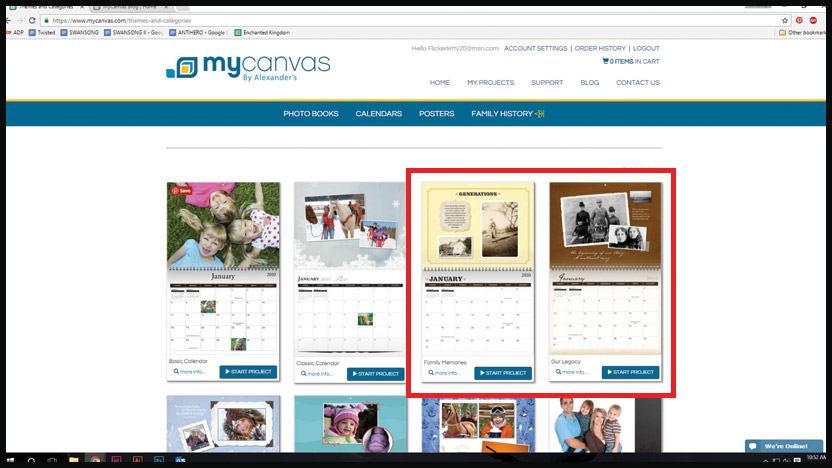
Though every calendar can include ancestral information, if you’re looking for an ancestry theme, we recommend one of these two templates:
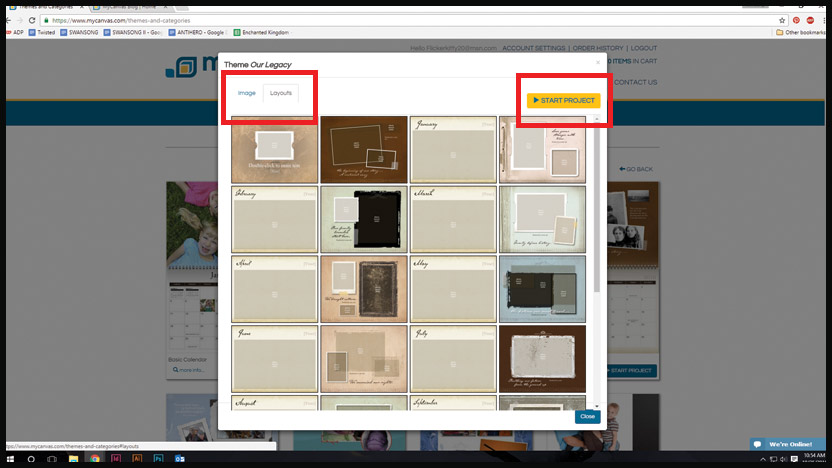
To preview a theme, simply click on the calendar’s icon. This will pull up this screen, where you can view a larger version of the image as well as all the available layouts.
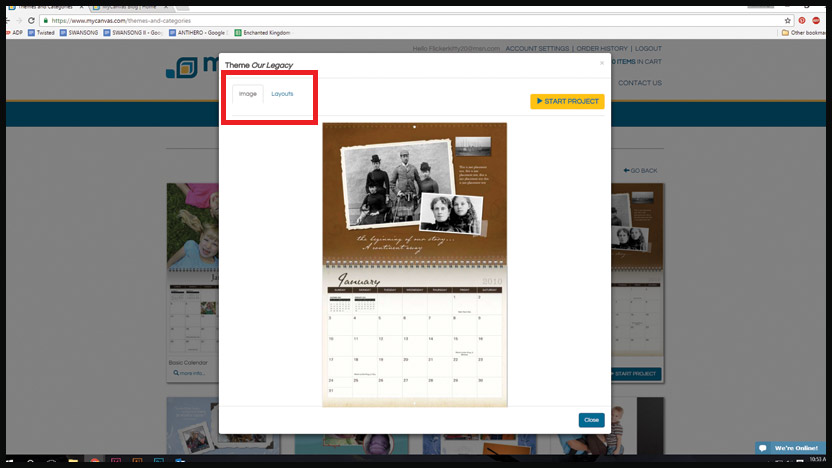
Once you’ve seen the layouts, if you don’t like them, click close. Or, if you like them and are ready to go, click Start Project.
Adding Ancestry Information
Your project loads in a separate window. After a list of helpful tips, you’ll be directed to the below screen where you can pick the Ancestry information you want included in your calendar.
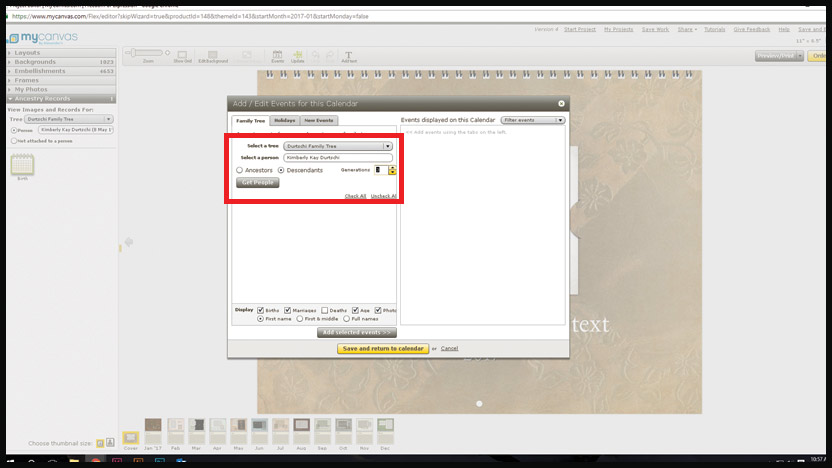
Choose either Descendants or Ancestors, and include between 1-6 generations.
When ready, click Get People. A list of your family members loads. In the bottom of this window, you can select which information you’d like displayed, including Birthdays, Anniversaries, and more. Also choose if you’d like to display first names or full names.
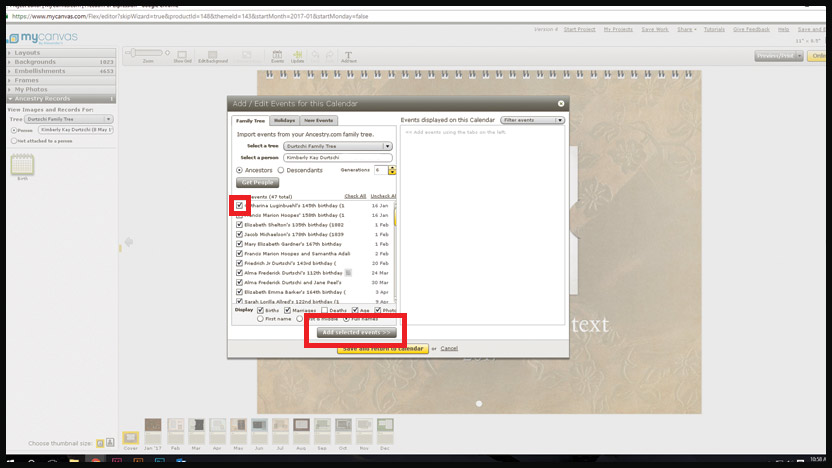
Note that you can click on individuals to add or remove them to your chart.
Once you have the list of people you’d like to populate your calendar, click, Add Selected Events.
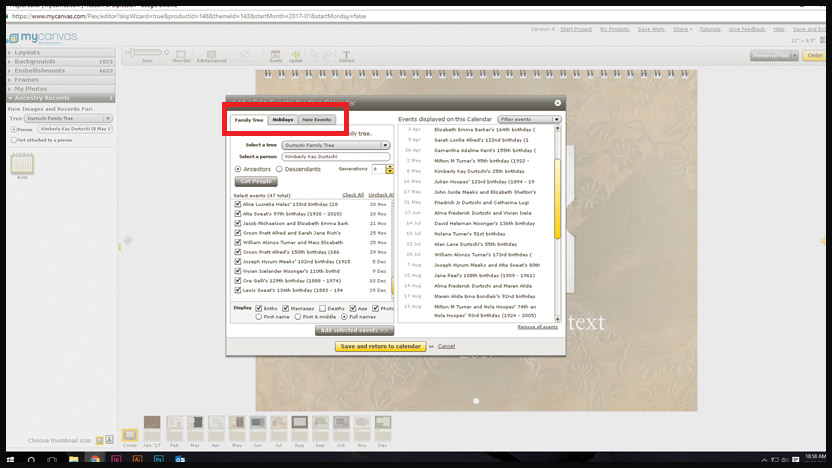
Note the tabs at the top of your populated screen, where you can also add Holidays and Events. For now, let’s focus on New Events.
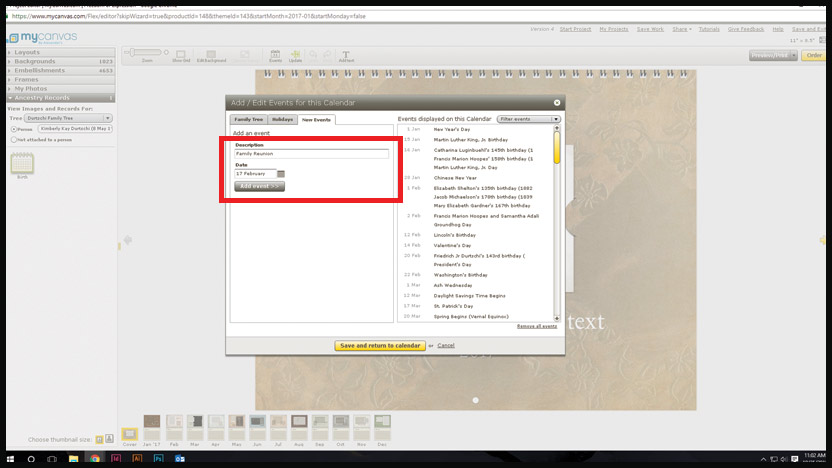
In this field, you can add your own custom events, including family reunions, family vacations, and more!
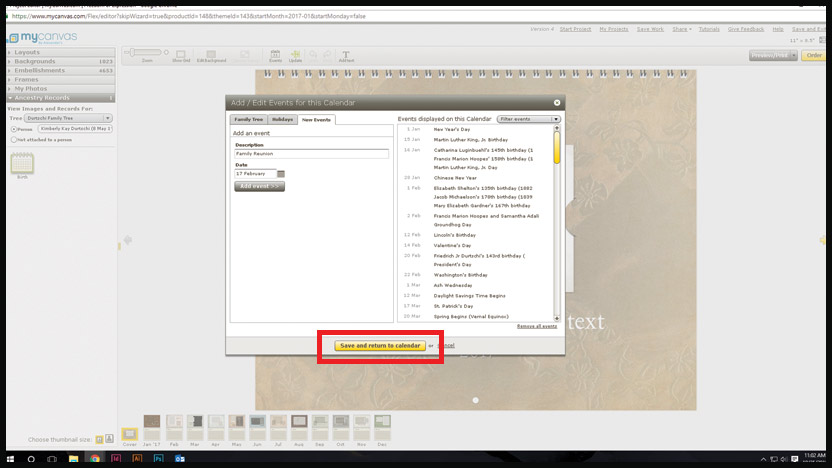
Once you’ve added all the information you need, click Save and Return to Calendar.
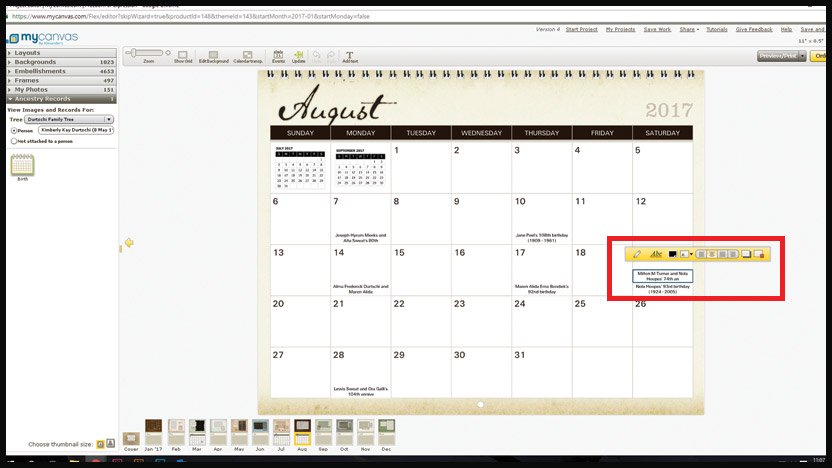
Next, your calendar is created! You can navigate around your calendar in the screen across the bottom. Each calendar spread includes two pages: a top, photography page, and a bottom date page.

You’ll want to explore your calendar to make sure all of the information you’ve imported displays correctly. The boxes only allow for so many characters to ensure that text won’t overlap. This means information is sometimes cutoff mid-word, so please review carefully! To edit, click on the text. A box pops up where you can change text, font, size, color and more.
Inserting Additional Calendar Events
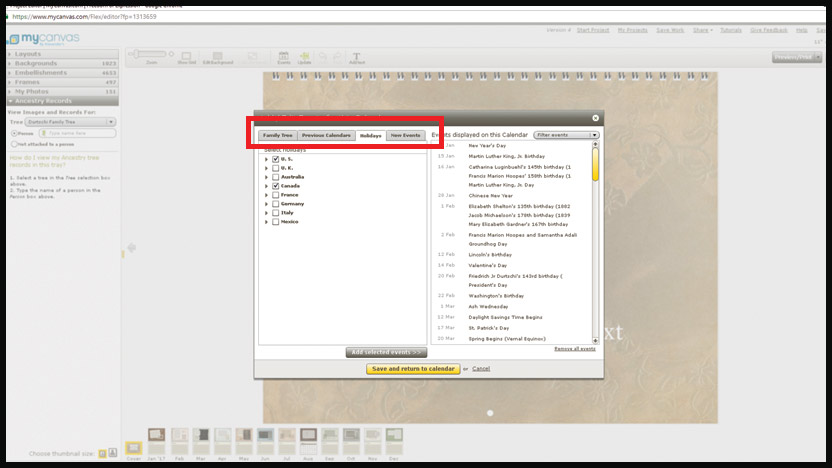
But what happens if you created your calendar, and later realized that you missed information, like those holidays? No, you don’t have to start all over! Simply visit the top bar of your editing screen and click on Events.

This leads you back to the edit window. Notice, there is one difference–you can now import events from previous calendars you’ve created! So, once you get a template you like, you can easily include the same information year after year!
Let’s explore that holiday tab now.
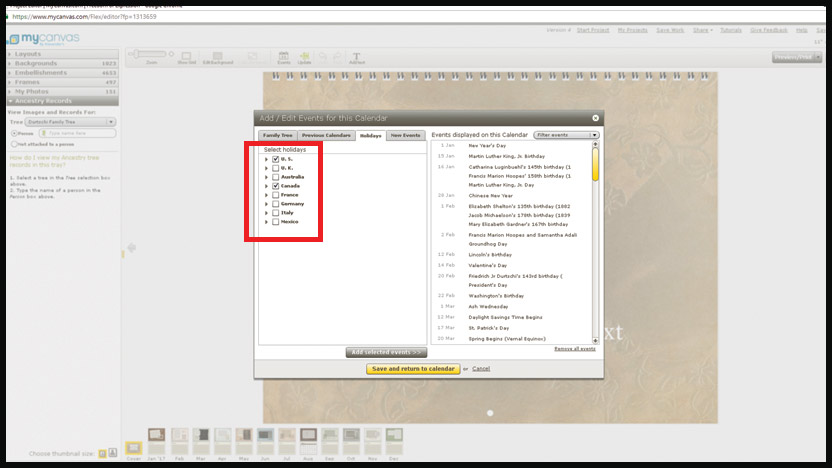
Note that you can include holidays from a variety of different countries. Pick your favorites.
To see which holidays are included in the bundles, click the drop-down menu off to the left. Now you can select or deselect each of the holidays you want included in your calendar.
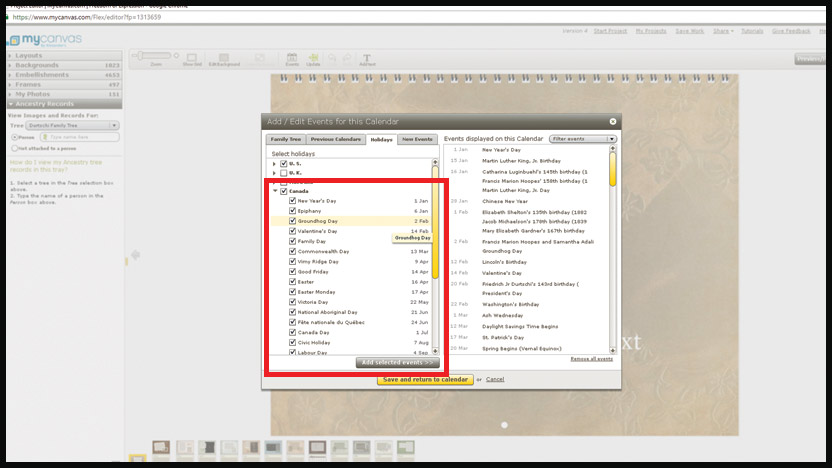
Remember to hit Add Selected Events, then Save and Return to Calendar to keep your information!
That’s how to get started creating your Ancestral calendar. To learn how to keep your calendars up to date with your latest Ancestry finds, click here. To learn how to continue decorating and adding embellishments to your calendar watch our tutorial here.
Ready to get started with your own Ancestry Calendar? Visit MyCanvas.com to get started!